Keeping tabs on what’s going on in your home is easier than ever these days thanks to the proliferation of Wi-Fi security cameras. We explain how to set one up and get notifications and video on your phone – wherever you are.
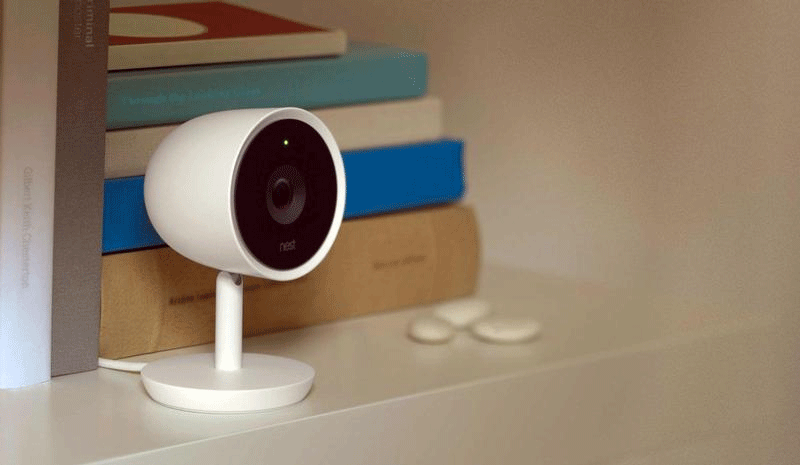
Modern security cameras are straightforward to install for the most part, especially for indoor models. It can be a little more involved installing an outdoor camera, but the same principles apply.
The setup process varies from manufacturer to manufacturer, but almost all now use a phone app that guides you through the steps you need to take.
There are two main types of camera: those with Wi-Fi only and those which also have Bluetooth. It’s a lot easier to set up a camera with Bluetooth since you don’t have to switch between Wi-Fi networks. And with some cameras, you don’t need to enter your Wi-Fi details at all because they’re taken straight from your phone.
With others, you might need to scan a QR code, and type in a unique identifier. If it’s compatible with HomeKit, you may need an iPhone or iPad to set it up and scan the HomeKit code.
We’ll use a Nest camera here so you can see the process from start to finish, but here’s a quick summary that should apply to most home security cameras:
- Download the appropriate app on your phone
- Create an account if you don’t have one already
- Connect the power supply to the camera and wait for it to be ready to set up
- Use the ‘add camera’ option in the app and follow the instructions
- If necessary, connect to the camera’s own Wi-Fi network
- Select which Wi-Fi network you’d like the camera to connect to and enter its password
- Wait for the camera to connect to your Wi-Fi and display live video
- Place the camera in its final location
- Configure the settings, such as motion detection regions and notifications
Tips for installing a security camera
Don’t drill any holes or mount your camera before you’ve set it up and got it working. It’s best to plug it in near your router to start with, then move it to the room or position you want to monitor later. That way you can check there’s a strong enough Wi-Fi signal.
This is especially important for outdoor cameras where you will need both a power source – ideally a waterproof outdoor socket – and a strong Wi-Fi signal.
It is also well worth getting someone to hold the camera in the desired position to check that it will give you the view you need. Lenses play a big part here as they determine the field of view: some offer a wider angle than others.
If you are installing outdoor cameras, be sure to abide by all local laws concerning privacy and – if necessary – put up appropriate signage to warn visitors to your property that they may be recorded. The usual CCTV in operation signs are widely available.
Don’t attempt to conceal or hide the cameras. Their presence acts as a deterrent to theives.
Position is important for any camera. Obviously mount it so it can cover the area you want to monitor, but bear in mind that pointing it at a window could lead to false notifications of movement, and sunlight streaming in and shining directly at the camera can render the footage useless.
The same goes for outdoor cameras, which should ideally be mounted in a sheltered spot out of the rain. They may be water-resistant, but water on the lens will reduce the amount of detail you can see.
Virtually all cameras have night vision which uses infrared LEDs to see in the dark. This tends to lead to black-and-white video, but note the LEDs will reflect off glass. That means you can’t place an indoor camera against a window to monitor the outside. It’ll work ok during the day, but you won’t see anything except the reflection of the LEDs at night.
How to install a home security camera
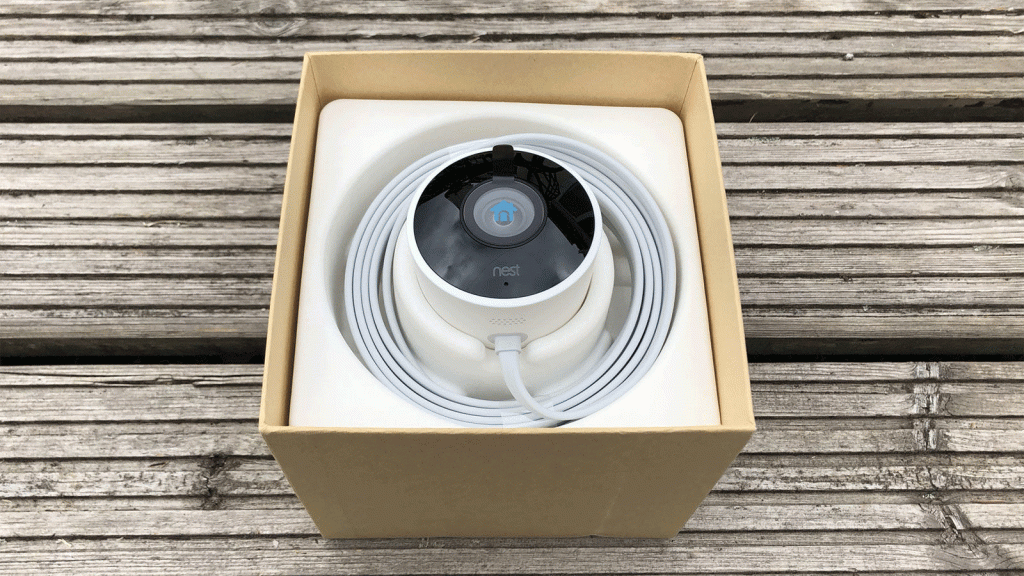
First, get everything out of the box, make sure nothing is missing and look for a setup guide that tells you which app to download. Sometimes there are subtly different apps from the same manufacturer.
Download it, open it and see whether you need to create an account. Typically you do, as you need a username and password to log in an get access to the camera’s video feed. Some cameras even have a password which you have to enter before you can view the live stream within the app, but you should have to enter this only once.
We’re setting up a Nest Outdoor camera here. As mentioned above, it’s important to set it up indoors first before mounting it outside.
So plug in the power cable and turn on the switch at the socket. Wait for an indication that the camera has power and then go to the app and find the option to set up a new device.
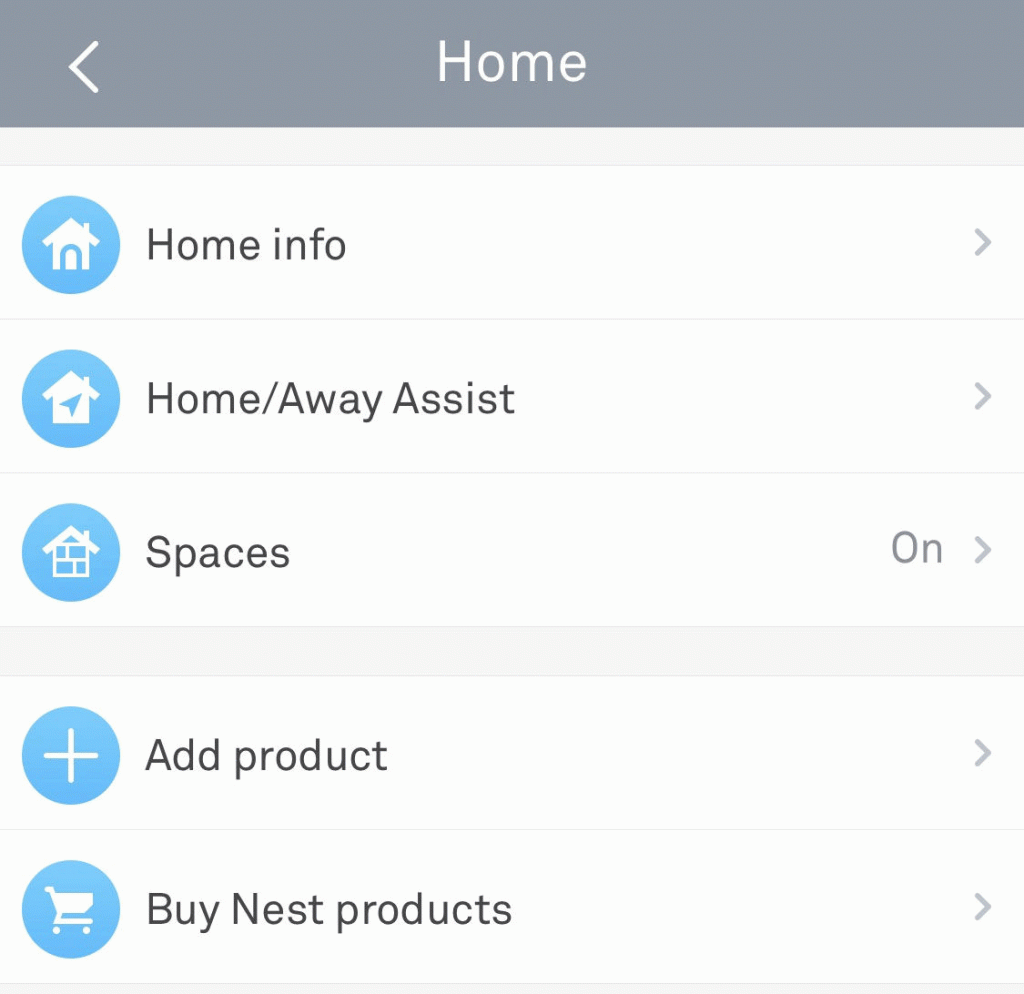
In the Nest app, that’s found by tapping the cog icon at the top-right of the main home screen and then tapping Add product from the menu.
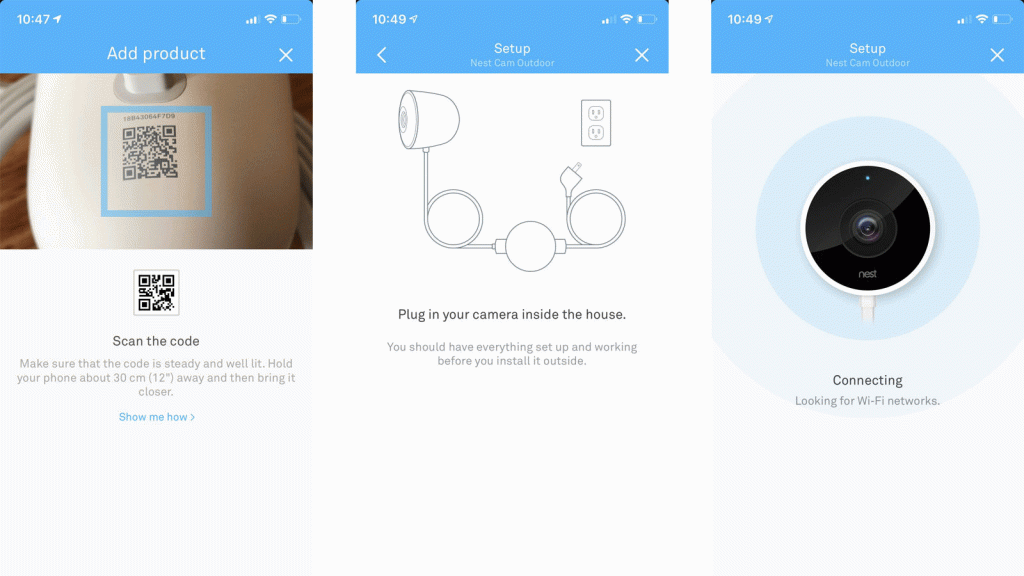
This is where camera set up varies from manufacturer to manufacturer, but Nest makes things simple as you just have to point your phone’s camera at the QR code printed on the device.
It may then ask you to turn on power to the camera, but if that’s already done, tap Next and wait for the camera to be discovered.
If you have a camera with no Bluetooth, it’s likely you’ll have to go to your phone’s settings and look for the camera’s own Wi-Fi network and connect to it before switching back to the app to continue setup.
Once the app has connected to the camera, it will configure the Wi-Fi settings so it can get internet access. That might happen automatically, or you’ll have to pick the network yourself and type in the password.
Usually, once that’s done you’ll see the live video preview from the camera after a short wait.
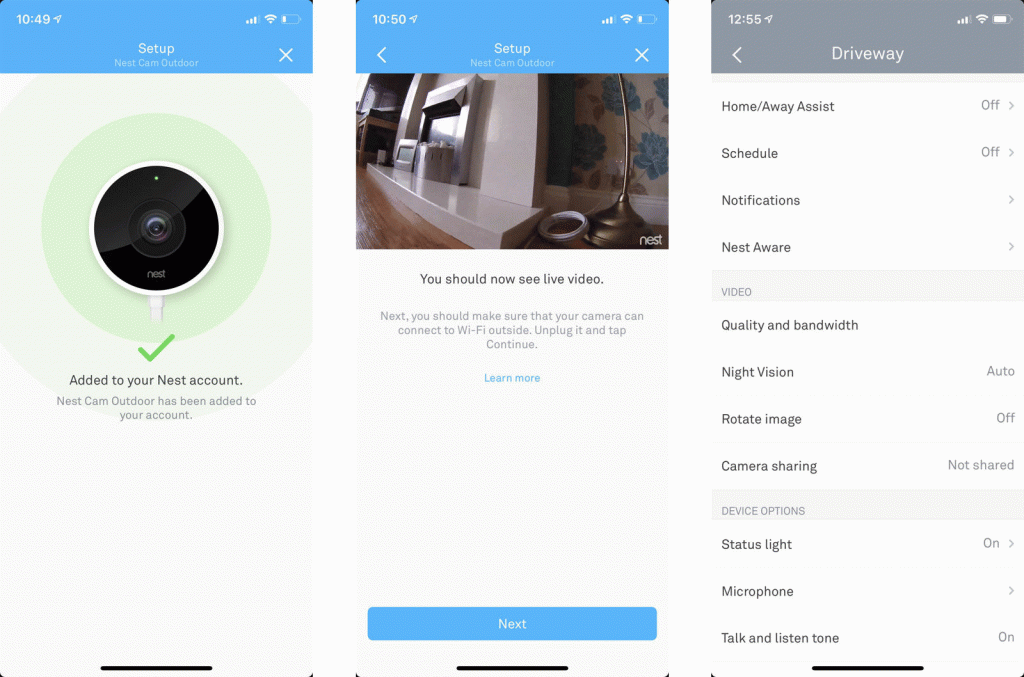
Depedending on the camera, you might be asked to set the location and time zone and even motion detection zones at this point.
However, don’t forget to mount the camera in the place it will live before choosing which area to monitor for motion.
That could be as simple as putting it on a shelf, desk or table and pluging it in, or as complex as drilling holes for a wall or ceiling mount and nailing in clips to run the power cable safely along the wall.
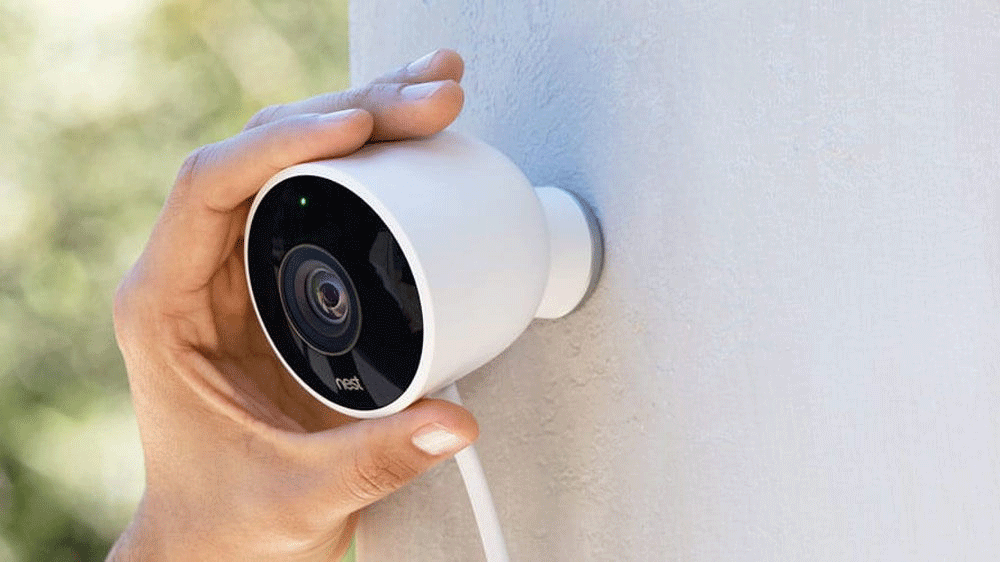
When the camera is in place, you can use the app to set the areas you want to monitor for motion (if supported), when you want the camera to record and choose other options.
Sometimes, you can’t access all settings from the phone app. And that’s also the case with Nest. If you want to set up Activity Zones, for example, you must use a laptop or PC and sign into your account on Nest’s website home.nest.com.
Last, find the notifications settings and choose how you want to receive them. The most useful is to get an alert when the camera detects motion, but you might also be able to be notified if there’s an unusual noise and also turn off notifications at certain times.
Also, some cameras allow you to choose when they’re recording, with some using your phone’s location to switch on recording when you leave the house and stop when you return – useful for indoor cameras.


