


Today there are heaps of viruses, malware, key-loggers & Trojans etc, enters into Windows PC. So, at that time you use Antivirus to remove all the virus, but what if your Windows is not accessible due to infected viruses. We are going to share some useful tips on removing viruses from the computer using Rescue USB drive. Follow the full article to know about it.
For Windows users, we are here with a method to remove all viruses from the computer using Rescue USB Disk. Today there are heaps of viruses, malware, key-loggers & Trojans etc, enters into Windows PC either from the internet or from data sharing with infected computers. So, at that time you use Antivirus to remove all the virus, but what if your Windows is not accessible due to infected viruses. At that time, you can use the rescue disk to clean up your computer from viruses. So have a look at the complete method discussed below.
How To Remove All Viruses From Computer Using Rescue USB Disk
In this method, you will be creating a bootable USB of antivirus that will run on your boot screen, scan all the viruses and remove them. And this will fix out many errors of your Windows. So have a look at the complete steps discussed below.
Steps To Create A Rescue USB To Free Up System From Viruses
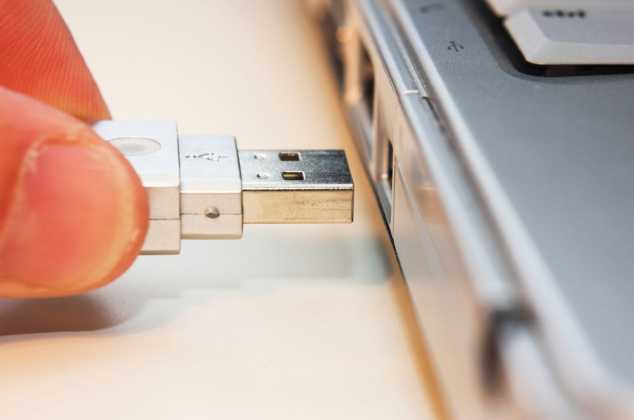
Step 1. First of all, connect a removable USB device to your computer.
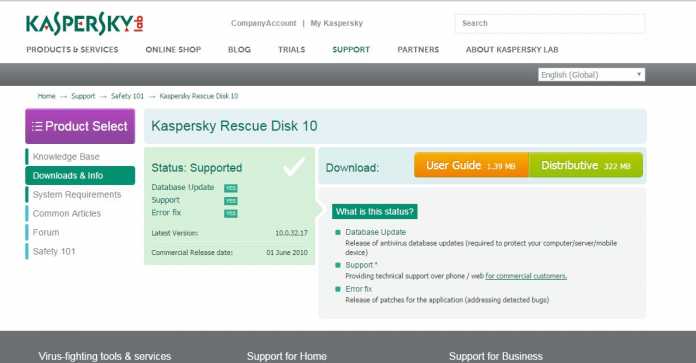
Step 2. Now you need, to download the Iso image of Kaspersky Rescue Disk 10 and a special utility program.
Step 3. Now launch the utility software in your Windows.
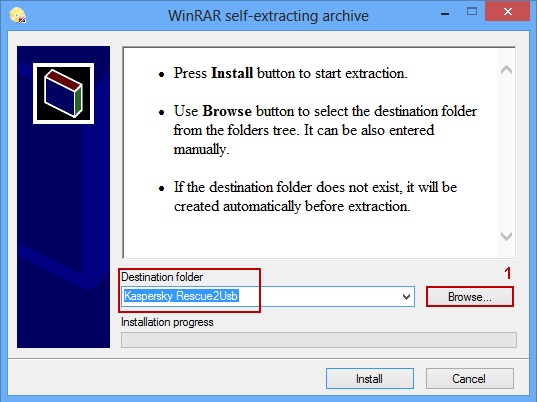
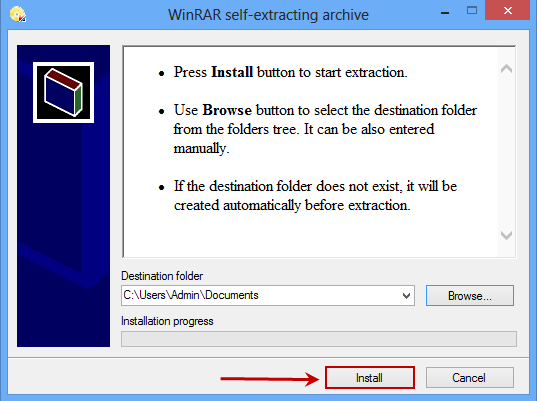
Step 4. Now give the path of the ISO File of Kaspersky Rescue Disk there and select the drive where you want to make it bootable, and hit install.
Step 5. After the work of the utility for recording is completed, the Kaspersky USB Rescue Disk Manager window will open. Just click on Start button there and a process will start and your Rescue disk is ready.
Step 6. Now Restart computer with USB inserted and press F11 when the computer started to boot your USB.

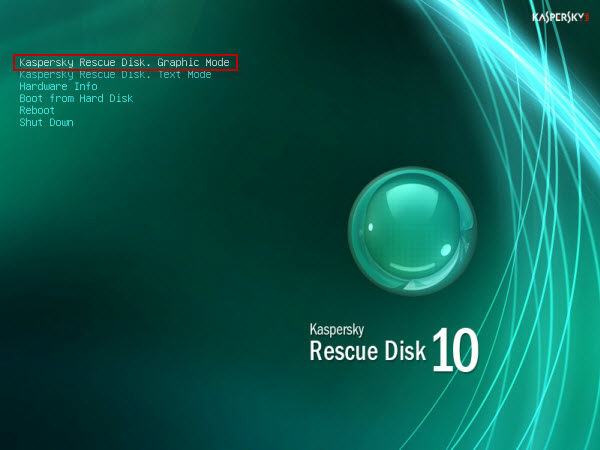
Step 7. Now Kaspersky interface will appear, proceed till you find the option to select from Graphic mode or Text mode, select the graphic mode.
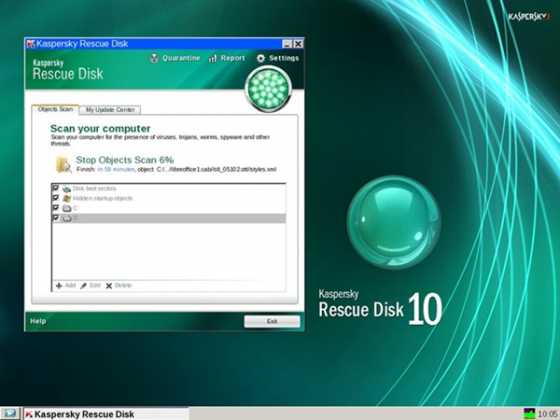
Step 8. Once Graphical User Interface fully loads onto the screen, you can perform a scan and remove all detected threats.


